
Getting Started
Install Editora, open a folder or a file, and learn the handful of keys that make it feel fast.
Install
Grab the package for your platform from the
releases page (or use the
OS-detected button on the home page). The native packages bundle their own
Java runtime, so there’s nothing else to install. If you already have JDK 25,
there is also a portable jar for Linux x64, Linux arm64 and Windows x64
(Editora-<version>-linux-x64.jar and so on), run with java -jar; see the
command-line reference.
macOS
Download the .dmg for your Mac (macos-arm64 for Apple Silicon, macos-x64
for Intel), open it, and drag Editora to Applications.
Windows
Run the .msi (x64). It installs Editora for every user of the computer, so
Windows asks for administrator rights. The installer lets you choose the folder
and adds a Start Menu group and a desktop shortcut.
Linux
Pick the format that suits your system. .deb, .rpm, and .AppImage are x64
only; the .tar.gz comes for x64 and arm64.
# Debian / Ubuntu: adds an `editora` command and a menu entry
sudo apt install ./Editora-<version>-linux-x64.deb

# Fedora / RHEL / openSUSE: adds a menu entry; the launcher is /opt/editora/bin/Editora
sudo dnf install ./Editora-<version>-linux-x64.rpm

# AppImage: no install step
chmod +x Editora-<version>-linux-x64.AppImage
./Editora-<version>-linux-x64.AppImage

# Tarball: adds an `editora` command and a menu entry
tar xzf Editora-<version>-linux-x64.tar.gz && cd editora-*
./install.sh          # per-user  -> ~/.local/editora  (+ ~/.local/bin/editora)
sudo ./install.sh     # system    -> /opt/editora       (+ /usr/local/bin/editora)
./install.sh --uninstall   # remove it again
The .deb also adds a second menu entry, Editora Expert Mode, which opens a
file in one window with minimal chrome (see
focus modes), and makes it the system-wide
default for text and source files. Your own per-user choice still wins, and the
previous defaults are put back when you uninstall the package. See the
command-line reference for where the launcher lives in each
package.
First launch
The macOS app is signed with a Developer ID certificate and notarized by Apple. The first time you open it, macOS asks once whether to open an app downloaded from the Internet; click Open.
The Windows installer is unsigned, so SmartScreen stops the .msi until you
allow it, and the administrator prompt that follows names the publisher as
Unknown. The steps are in
Troubleshooting.
Checking a download
Each release lists the SHA-256 of every file in checksums_sha256.txt.
Download it into the same folder as the file, then:
# Linux
sha256sum --ignore-missing -c checksums_sha256.txt

# macOS
grep macos-arm64.dmg checksums_sha256.txt | shasum -a 256 -c   # macos-x64.dmg on Intel
# Windows (PowerShell): prints True when the file matches
$f = "Editora-<version>-windows-x64.msi"
(Get-FileHash $f).Hash -eq ((Select-String $f checksums_sha256.txt).Line -split '\s+')[0]The Linux downloads (.deb, .rpm, .AppImage and .tar.gz) each come with
an OpenPGP signature beside them (.asc), made with the release key attached
to the release as editora-signing-key.asc (fingerprint
8486 A7AF 4FC8 FEE9 3D83 CDB4 EA5F A138 C2C0 9C4A):
gpg --import editora-signing-key.asc
gpg --verify Editora-<version>-linux-x64.deb.asc Editora-<version>-linux-x64.deb
The .rpm and .deb are also signed inside, for rpm -K, dnf and
debsig-verify.
Every release file also has a build provenance attestation: a signed record
that the file was built by the Editora repository’s release workflow from the
tagged commit. For the Windows .msi it is the only signature. With the
GitHub CLI, on any system:
gh attestation verify Editora-<version>-windows-x64.msi \
  --repo adriandeleon/Editora --source-ref refs/tags/v<version>
Use the name of the file you downloaded; the command is the same for the
.dmg, the Linux packages and the jars.
Updating and removing
Editora checks for a newer release at most once a day, and the status bar then shows Update: X.Y.Z; click it to open the download page. Editora does not update itself: download the new package and install it the same way.
| Package | Update | Remove |
|---|---|---|
macOS .dmg | Drag the new Editora to Applications and replace the old one | Move Editora from Applications to the Trash |
Windows .msi | Run the new .msi; it replaces the installed version | In Windows Settings, Apps → Installed apps, then Editora’s Uninstall |
.deb | sudo apt install ./Editora-<version>-linux-x64.deb | sudo apt remove editora |
.rpm | sudo dnf install ./Editora-<version>-linux-x64.rpm | sudo dnf remove editora |
.AppImage | Replace the file with the new one | Delete the file |
.tar.gz | Extract the new tarball and run its ./install.sh (with sudo for a system install) | ./install.sh --uninstall (with sudo for a system install) |
| Portable jar | Replace the jar | Delete the jar |
Removing Editora leaves your settings in the
config folder (~/.editora/); delete that folder too to
remove them.
Or run from source
Requires JDK 25+. The Maven wrapper is bundled (use mvnw.cmd on Windows).
git clone https://github.com/adriandeleon/Editora.git
cd Editora
./mvnw javafx:run           # run the app
./mvnw -Pfatjar package     # build a self-contained jar
java -jar target/Editora-*.jar
Open a folder or a file
A fresh install opens on the Welcome page. Its buttons are the quickest way in:
- Open Folder as a Project… opens a folder with its file tree in the Project tool window. This is the usual way to work on a codebase; each project gets its own window and remembers its open files.
- Open File… opens a single file.
- New File starts an empty buffer, and Clone Git Repository… fetches a repository and opens it.
Every one of these is also a command in the palette. Reopen the page any time with Help → Welcome Page or View: Welcome Page in the palette.
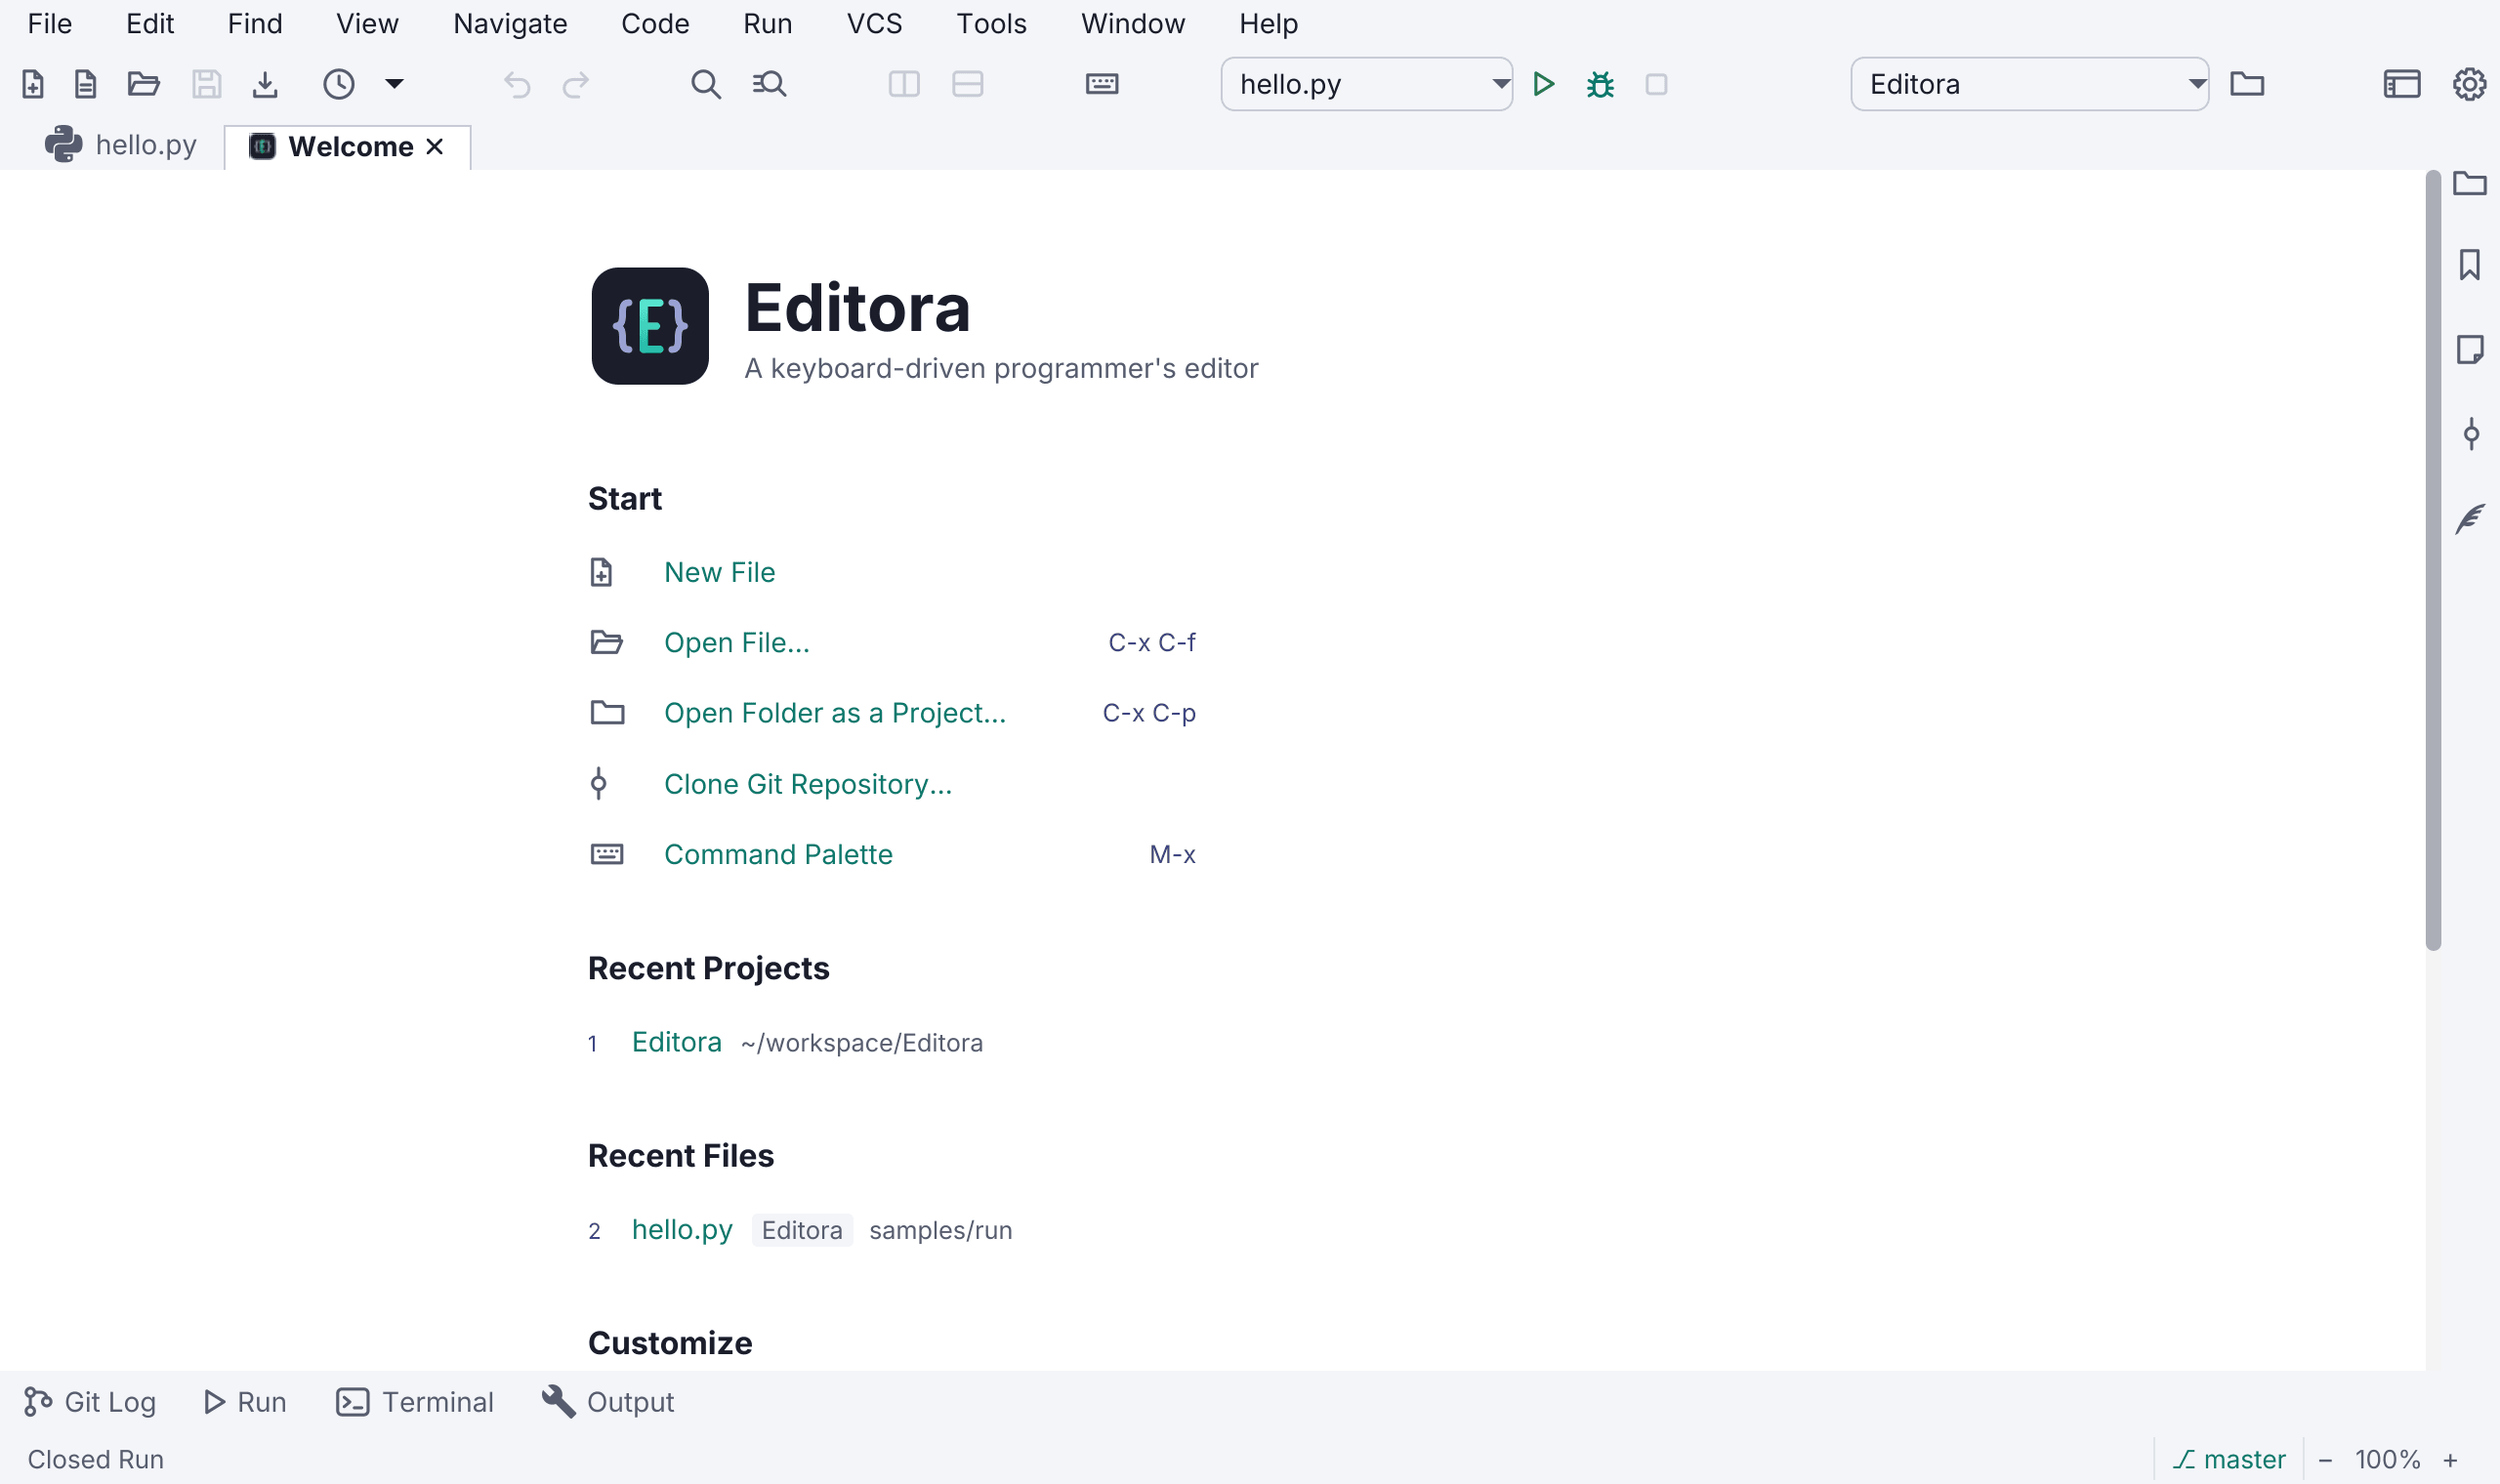
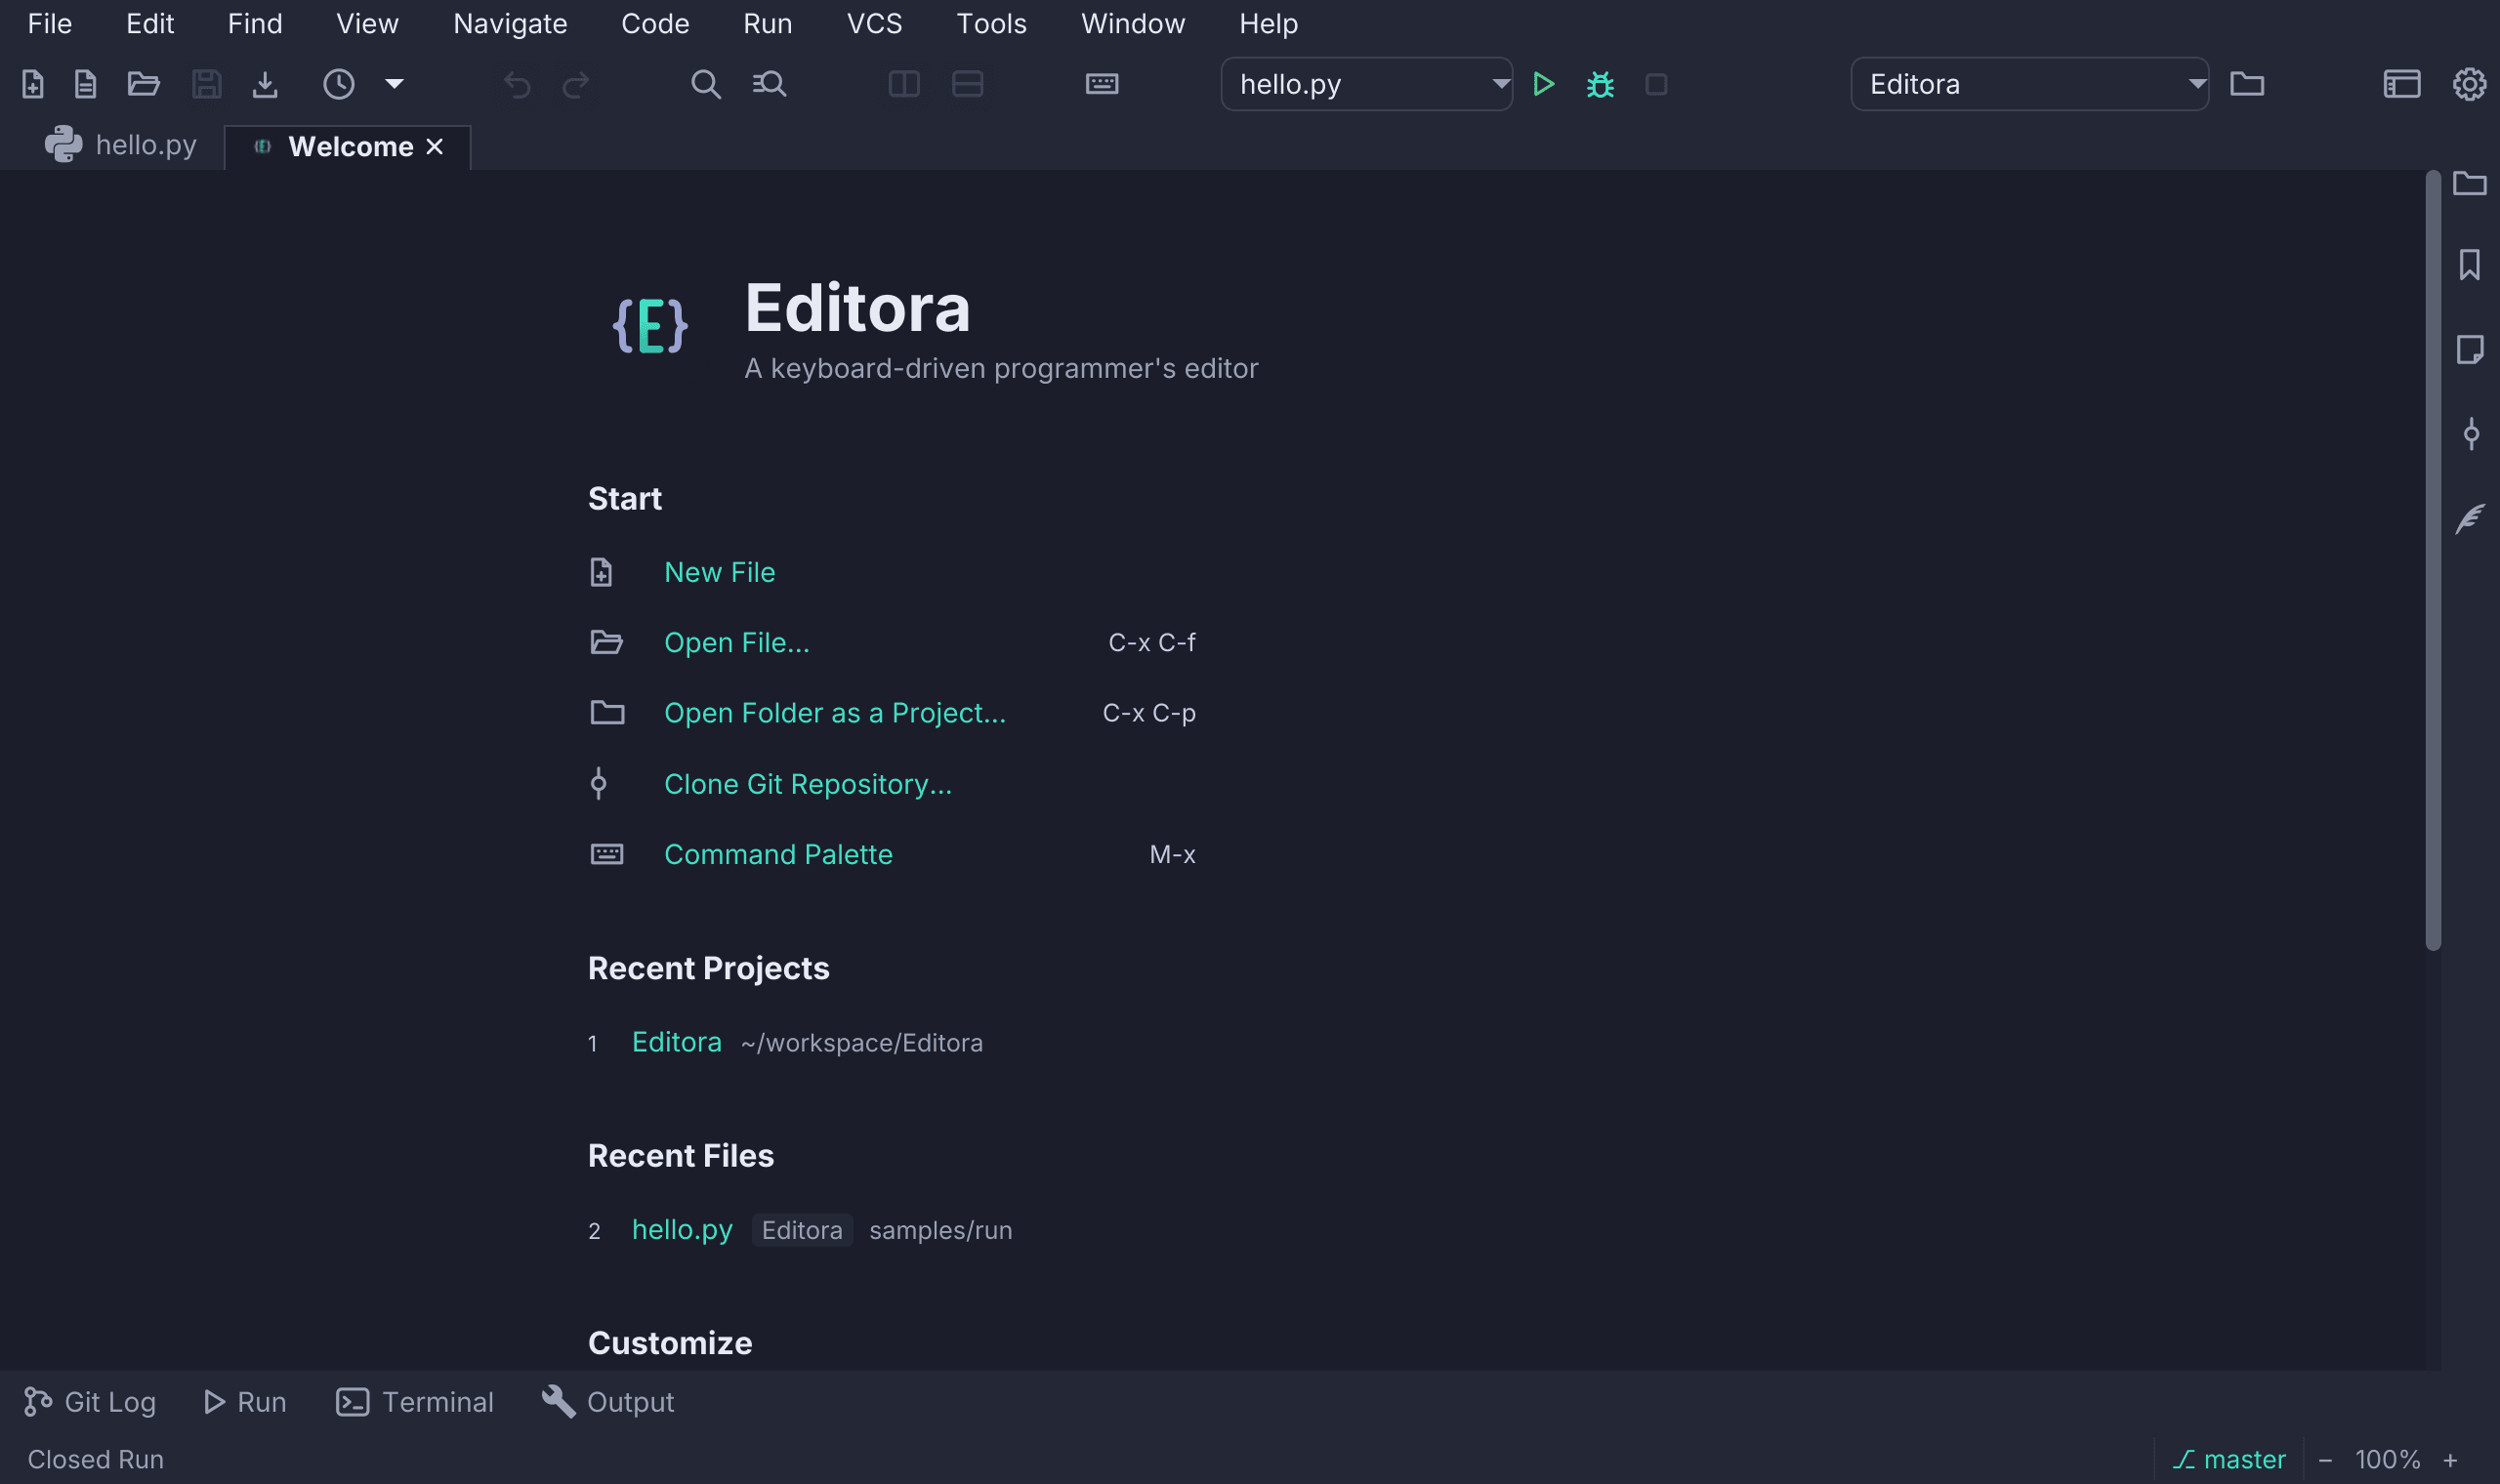
The page also shows the keymap and theme in use; click either to change it.
Editora starts with the Emacs keymap, so shortcuts read like C-x C-f
(Ctrl+X, then Ctrl+F) and M-x (Alt+X). Pick the VS Code, IntelliJ, Sublime
or CUA keymap there if you prefer, and every shortcut shown switches to your
platform’s notation. See Keymaps.
Starting Editora again while it is running does not open a second editor: the launch goes to the one already running. And if the editor ever stops without closing normally, the next launch offers your unsaved edits back; see crash recovery.
Choose your keymap
Editora ships five keymaps: Emacs (the default), CUA, Sublime Text, VS Code, and IntelliJ IDEA. If Emacs chords aren’t your muscle memory, switch before you learn anything else: open Settings (the gear in the toolbar, or “Settings” in the palette), go to Keymaps, and pick one. The change is live, and every shortcut shown in menus, tooltips, and the palette follows it. See Keymaps & keybindings.
Reading the key notation
These docs write the Emacs keymap’s chords the Emacs way:
C-is Ctrl,M-is Alt (Option on macOS), andS-is Shift. SoM-xis Alt+X andC-S-fis Ctrl+Shift+F.- A space separates the steps of a sequence:
C-x C-fis Ctrl+X, then Ctrl+F. C-gcancels a half-typed sequence.
First steps
Editora is keyboard-first. These get you moving:
| Do this | Emacs keymap | VS Code keymap |
|---|---|---|
| Open the command palette (everything is here) | M-x | Ctrl+Shift+P or F1 |
| Find or open a file by path | C-x C-f | Ctrl+P |
| Save | C-x C-s | Ctrl+S |
| Jump to a symbol in the file | M-g i | Ctrl+Shift+O |
| Switch between open files | C-x b | (palette) |
| Find in the current file | C-s | Ctrl+F |
| Search Everywhere | M-S-x | Ctrl+Shift+E |
| Toggle a bookmark | C-c m | (palette) |
| Open Settings | (palette) | Ctrl+, |
On macOS the VS Code keymap uses Cmd where the table shows Ctrl. The CUA,
Sublime Text, and IntelliJ IDEA keymaps differ in places; the
Keybindings page has a tab for each.
Don’t memorize these. Open the palette, type a few letters of what you want, and run it. Each entry shows its key, so you pick up shortcuts as you go. The full list lives on the Commands and Keybindings pages.
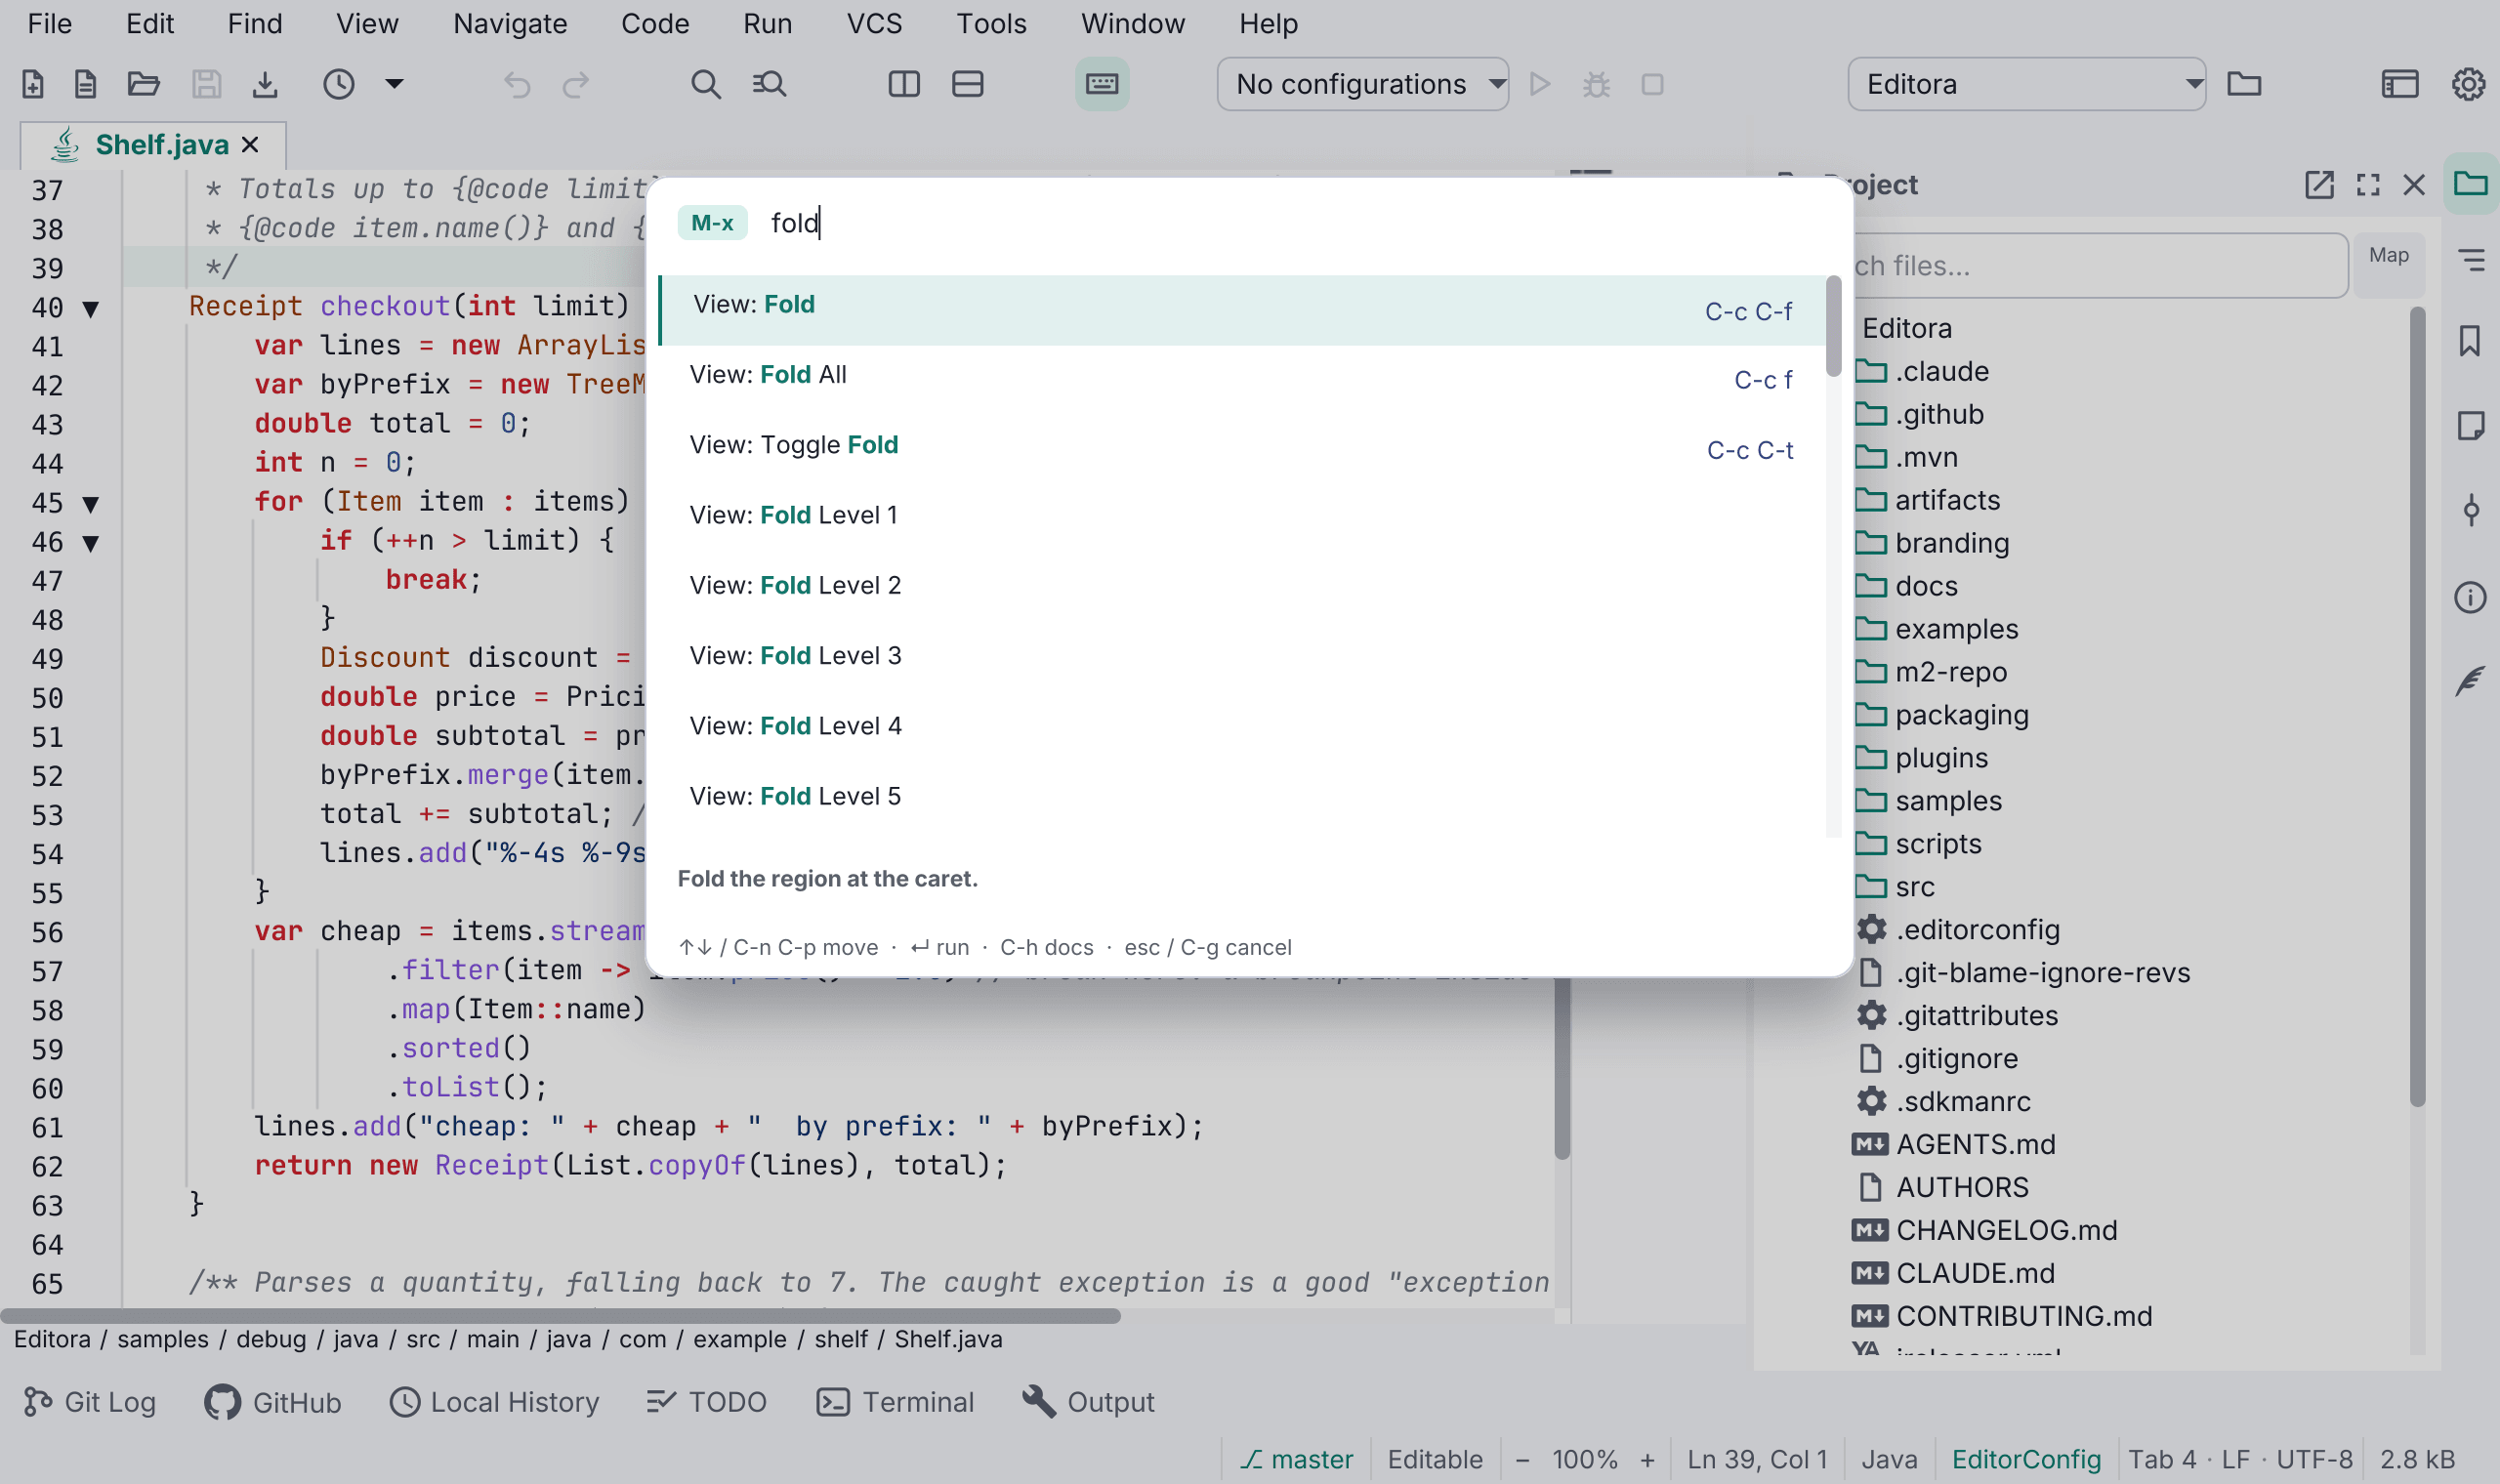
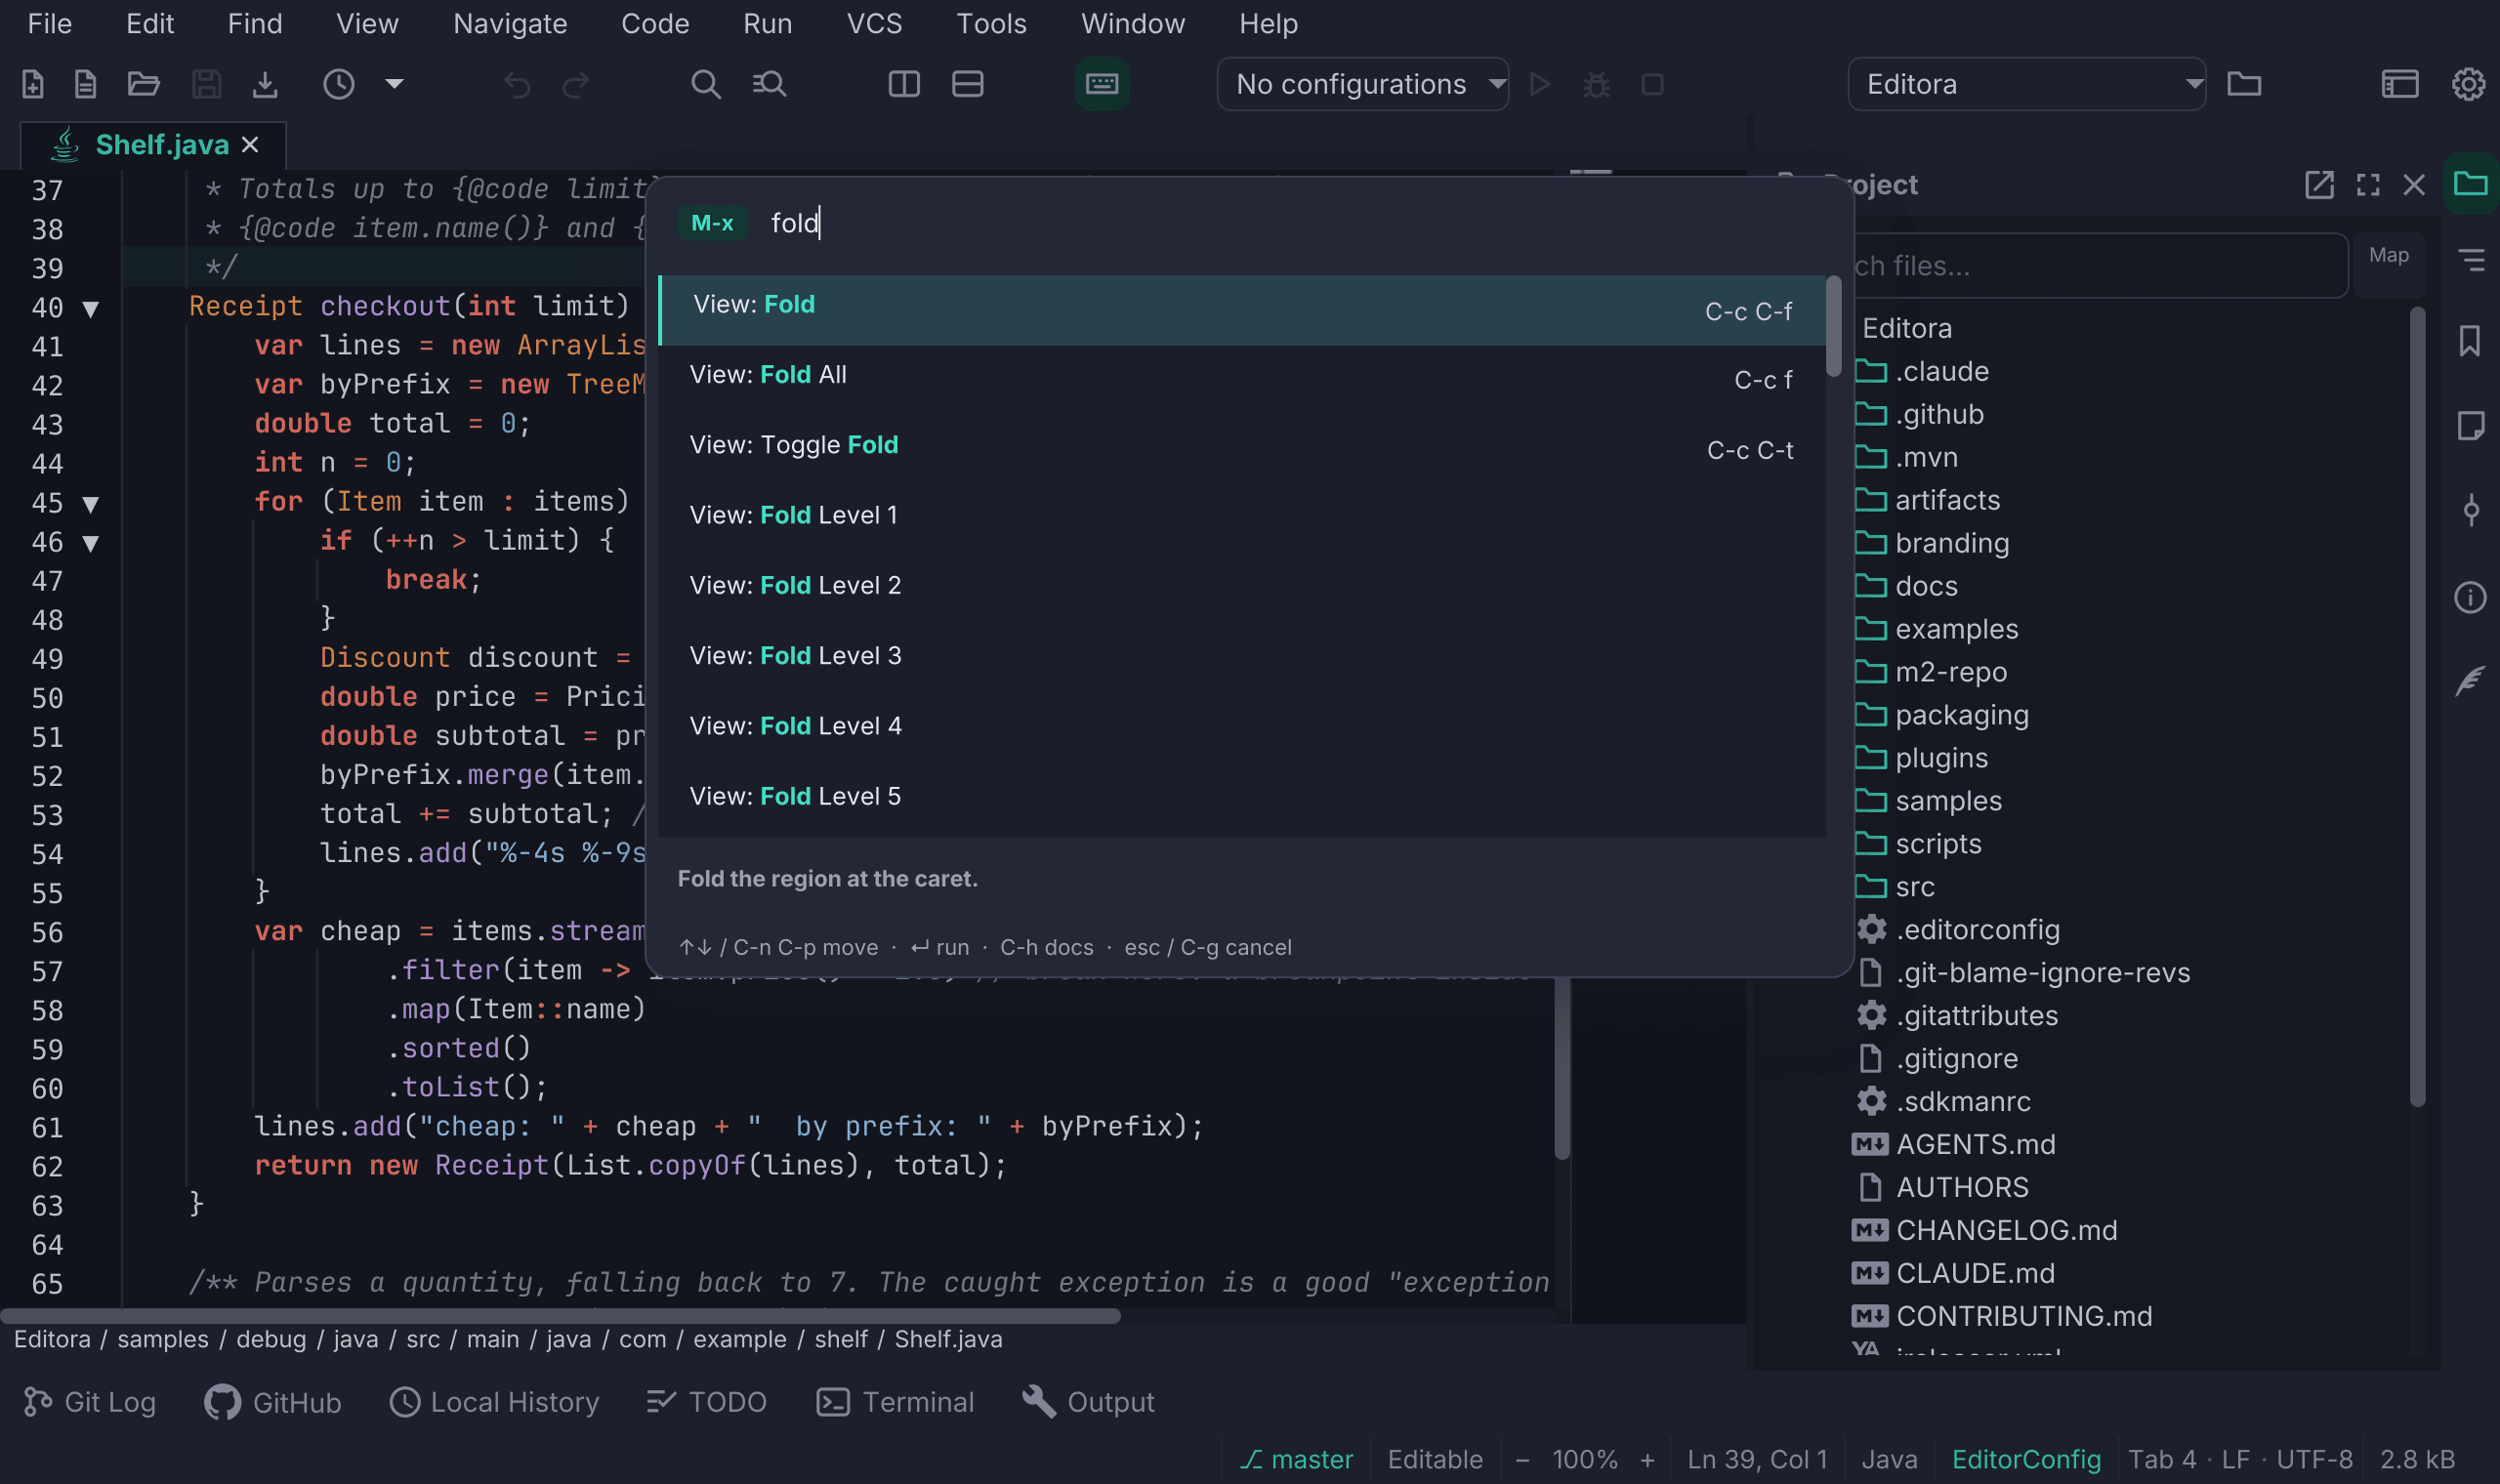
If you don’t yet know which picker holds the command, file or symbol you want, run Search Everywhere and type its name. See Navigation & search.
If you’d rather browse than recall, there is also a menu bar (File / Edit / Find / View / Navigate / Code / Run / Git / Tools / Window / Help) built over the same commands, with each item showing its current keybinding. Its Help menu links to the documentation for the version you are running, and has Keyboard Shortcuts (every command’s keys, searchable and changeable) and Welcome Page. F10 opens the menu bar in the Emacs and IntelliJ IDEA keymaps and Ctrl+Shift+F10 in the others; see Menus and buttons from the keyboard.
A command that can’t run right now stays listed and dimmed rather than disappearing, whether its feature is switched off or there is nothing for it to act on. Hover a dimmed row and it tells you which, and names the command that would fix it. The same holds in the menu bar, the right-click menus and the drop-downs: hovering a grayed row shows the reason, a screen reader hears it with the row, and choosing the row says it in the status bar. (On macOS the menu bar is the system’s, and a row there is only disabled.)
Make it yours
- Themes & fonts: open Settings and go to Appearance. Editora Light and Dark are the default pair, with 26 more themes and five bundled fonts. See Themes & fonts.
- Keymap: switch keymaps live in Settings → Keymaps, or rebind individual commands. See Keymaps & keybindings.
- Projects: on by default. Project: Open Folder… (
C-x C-pin the Emacs keymap) opens a folder as a workspace, each in its own window, and New Project From Template scaffolds one from scratch. See Projects, windows & files.
Turning on the bigger features
Off until you turn them on are the features that run code or reach the network. Enable the ones you want in Settings:
- Plugins.
- AI assistance and the MCP server.
- Settings sync, to share snippets, abbreviations, templates, and your dictionary between computers.
On, but dormant until their tool is installed is the larger group:
Git, GitHub,
language servers, debugging,
Mermaid,
diagrams, and Typst are enabled by
default, and their buttons and panels appear once Editora finds the command they
need (git, gh, a language server, a debug adapter, mmdc, and so on). A file
whose language server is missing shows a banner that offers to install it. Run
View: Doctor to see what was found; see
Troubleshooting.
In a folder you have not trusted, a language server that would have to run the project’s build to load it waits: Java starts without its Maven or Gradle build, and the Kotlin, Scala, Rust, Ruby, C# and Clojure servers start once you click Trust Folder.
Projects, the HTTP client, HTML preview, and Personal notes are on from the start and need nothing else.